So you’ve decided on your hardware. Now it’s time to actually install Home Assistant. This is the part that scares most beginners off, usually after watching a 45-minute YouTube tutorial where a very relaxed guy with six monitors casually types commands into a terminal. Ignore that guy. The install itself takes between 20 minutes and an hour, depending on which path you took, and almost none of it involves a terminal.
This guide walks through how to install Home Assistant on all three of the common starter setups: a Home Assistant Green, a Raspberry Pi 5, or a mini PC. Find your section, do the steps, meet everyone back at the onboarding wizard.
Pour a coffee. You’ve got this.
Before you start: a quick checklist
Have these things in front of you before you begin:
- The hardware you bought (Green, Pi, or mini PC)
- A power supply for that hardware
- An ethernet cable plugged from your hardware into your router
- A laptop or phone on the same network
- 30 to 60 minutes of uninterrupted time
Two notes that save real headaches:
Use ethernet for the install, even if you plan to switch to wifi later. First-time setup over wifi is the number one cause of “my install is stuck” posts. You can switch to wifi after onboarding.
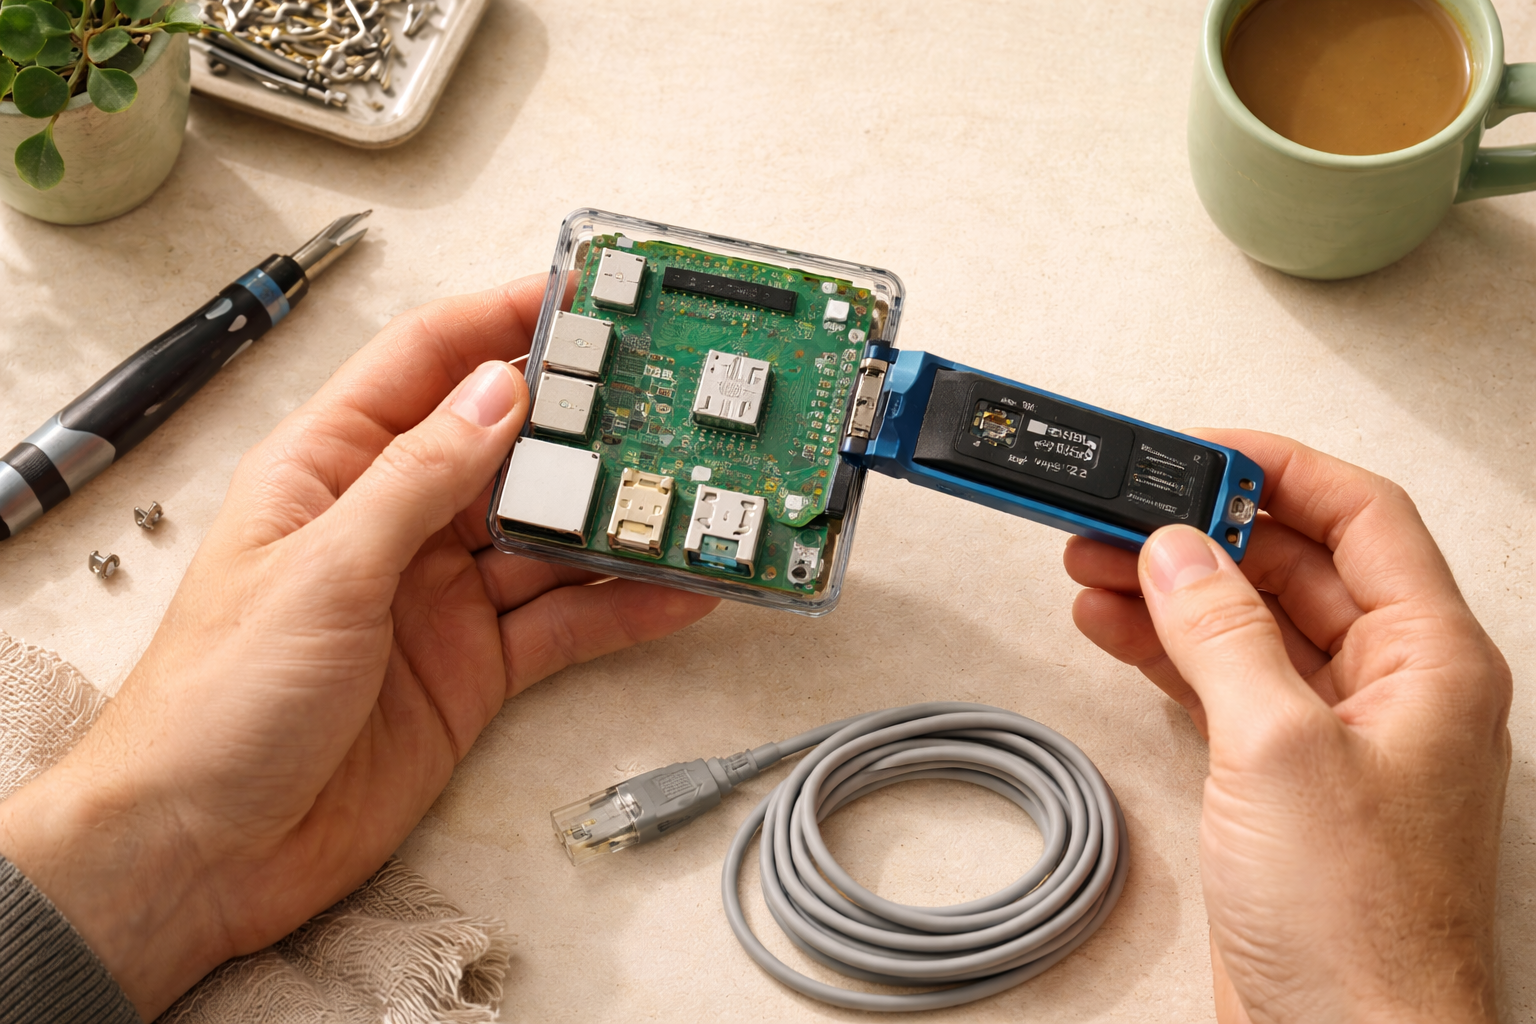
If you bought a Raspberry Pi or mini PC, you’ll also need a USB drive (at least 8 GB) to flash the installer onto. The HA Green doesn’t need this since it ships pre-installed.
Path A: Home Assistant Green
The shortest install in the smart home world.
- Plug the ethernet cable into the back of the Green and into your router.
- Plug in the power adapter.
- Wait about three minutes for the green LED to stop blinking.
- On any device on your network, open a browser and go to
http://homeassistant.local:8123.
If that URL loads to a setup screen, skip down to the First Boot section below.
If homeassistant.local:8123 doesn’t work (some routers don’t support this naming), find the device’s IP address in your router’s admin panel and visit http://<that-ip>:8123 instead.
Total time: roughly 5 minutes. Coffee still hot.
Path B: Raspberry Pi 4 or 5
A few more steps, but nothing scary.
- Download Raspberry Pi Imager on your laptop from
raspberrypi.com/software. Install it. - Plug your Pi’s SD card or SSD into your laptop using a USB adapter.
- Open Raspberry Pi Imager. Click Choose Device and pick your Pi model.
- Click Choose OS. Scroll to Other specific-purpose OS → Home Assistants and Home Automation → Home Assistant. Pick the version that matches your Pi.
- Click Choose Storage and select the drive you plugged in. Be careful, this drive will be wiped.
- Click Write. Wait 5 to 10 minutes.
- When it’s done, eject the drive, plug it into your Pi, plug in ethernet, and plug in power.
- Wait about 10 minutes for the first boot. Be patient. The first boot is always the slow one.
- Open
http://homeassistant.local:8123in any browser on the same network.
If the page doesn’t load after 15 minutes, look in your router’s admin panel for a device called homeassistant and use its IP address instead.
Total time: roughly 30 minutes.
Path C: Mini PC (Intel N100, NUC, Beelink, etc.)
A bit more involved, mostly because you’re booting from a USB drive instead of a pre-loaded card.
- Download the Home Assistant OS image for “Generic x86-64” from
home-assistant.io/installation/generic-x86-64. - Download Balena Etcher from
etcher.balena.ioand install it. - Plug your USB drive into your laptop. Open Etcher.
- Click Flash from file, pick the Home Assistant image you downloaded.
- Click Select target, pick your USB drive.
- Click Flash. Wait 5 to 10 minutes.
- Plug the USB into the mini PC. Connect ethernet and a monitor.
- Power it on, then enter the BIOS (usually F2, F7, F11, or Delete during startup) and set the USB as the first boot device.
- Save and exit. The mini PC will boot from USB and install Home Assistant to its internal drive automatically. This takes about 15 minutes. Don’t unplug anything.
- When the screen shows a login prompt with
homeassistant login:, the install is done. Remove the USB drive. - Open
http://homeassistant.local:8123on any browser on your network.
Total time: roughly 45 minutes if it’s your first time touching a BIOS.
First boot: the onboarding wizard
Whatever path you took, you should now be staring at a Home Assistant welcome screen in your browser. From here, the experience is the same for everyone.
- Wait for “Preparing Home Assistant” to finish. First boot can take 15 to 20 minutes on a Pi. Go make a sandwich.
- Create your account. Use a strong password. This is the master account for your entire smart home.
- Name your home and pick your location. Location is important: it powers sunset/sunrise automations, weather data, and time zones.
- Pick a unit system. Imperial or metric. You can change it later.
- Let Home Assistant scan your network. It’ll find devices it can integrate with. Don’t worry about adding them all now. Skip past anything you’re not sure about.
- Finish setup. You’re now at your dashboard.
Welcome to your smart home control center.
Add your first device
Don’t go overboard yet. Add one device, just to prove it works.
The easiest first add is a smart bulb you already own (Hue, LIFX, TP-Link Kasa, etc.) or a Cast-enabled speaker (Google Home, Chromecast).
- Click Settings in the left sidebar.
- Click Devices & Services.
- Click + Add Integration in the bottom right.
- Search for the brand of your device (Hue, Kasa, Cast, etc.).
- Follow the prompts.
If it shows up in your dashboard with a working on/off toggle, congratulations. You have a working Home Assistant.
Install the mobile app
This is the difference between “I have Home Assistant” and “Home Assistant is part of my life.”
Search Home Assistant in the App Store or Play Store. Open the app, allow it to discover your server, log in with the account you just made, and follow the prompts.
The app gives you push notifications, location-based automations, sensor data from your phone (battery, motion, GPS), and a one-tap shortcut to your dashboard from anywhere. This is also the moment where you’ll start thinking of automations you didn’t know you needed. That, unfortunately, is how this hobby begins.
What to do if something goes wrong
A few of the most common first-day issues and how to handle them.
homeassistant.local:8123 doesn’t load. Some routers don’t broadcast .local names. Find the device’s IP address in your router’s admin panel and use that instead.
The dashboard loads but is blank or stuck. Wait. First boot is genuinely slow, especially on a Pi 4. Give it 20 minutes before you panic.
Your device isn’t being detected. Make sure both your computer/phone and your Home Assistant device are on the same network. Mesh networks with separate “guest” or “IoT” SSIDs are a common source of this.
Onboarding fails halfway through. Power-cycle the device (unplug, count to 30, plug back in) and try http://homeassistant.local:8123 again. The data was probably saved.
If you’re truly stuck, the Home Assistant community forum is one of the friendliest places on the internet. Search your error message there before posting; chances are someone hit the same issue last week.
What’s next
You’re up and running. From here:
Add a few more devices. Keep it slow. One brand at a time.
Try your first automation. Read Your first 5 Home Assistant automations to see what’s possible (article coming soon).
Set up the mobile app properly. Enable location tracking and notifications. This unlocks the magic.
Don’t read every advanced tutorial yet. It’s tempting to dive into add-ons, custom dashboards, and Node-RED on day one. Resist. Live with a basic setup for a week. You’ll start noticing the specific moments when your house annoys you, and those moments are exactly where your first good automations come from.
The hardest part is behind you. Welcome to your new smart home.
Try your first automation. Read Your first 5 Home Assistant automations to see what’s possible.
Set up the mobile app properly. Enable location tracking and notifications. This unlocks the magic.
Add a few integrations. See What integrations should you add first? for the shortlist.
Build a dashboard you’ll actually open. Our guide to building a Home Assistant dashboard for beginners walks through it in an afternoon.
Pick up a Zigbee stick. See Zigbee vs. Z-Wave vs. Matter vs. Wi-Fi before you buy any smart devices.