You click Settings → Devices & Services → Add Integration, and Home Assistant shows you a search box above what it cheerfully tells you is a list of over 2,000 options. Philips Hue is in there. So is your electric utility. So is a doorbell brand you’ve never heard of and the Dutch train network. You stare at it for a minute. You close the tab.
So. Which home assistant integrations for beginners are the ones worth adding first?
Most guides answer this by listing their personal favorites in no particular order, as if all 2,000 integrations are on equal footing. They are not. A small handful of integrations do the heavy lifting in a beginner’s first month, and once those are in place, everything else becomes optional. This piece covers what an integration actually is, what “local” vs. “cloud” means in practice, and the five we’d add first on a new install.
The 30-second version
Start with the Home Assistant Companion app (makes your phone a sensor and a remote), then your existing smart bulb brand, a weather integration, your voice assistant if you have one, and a media player. That’s five. You can do all of them in under an hour. After that, add more only when an automation needs them.
What is an integration, really?
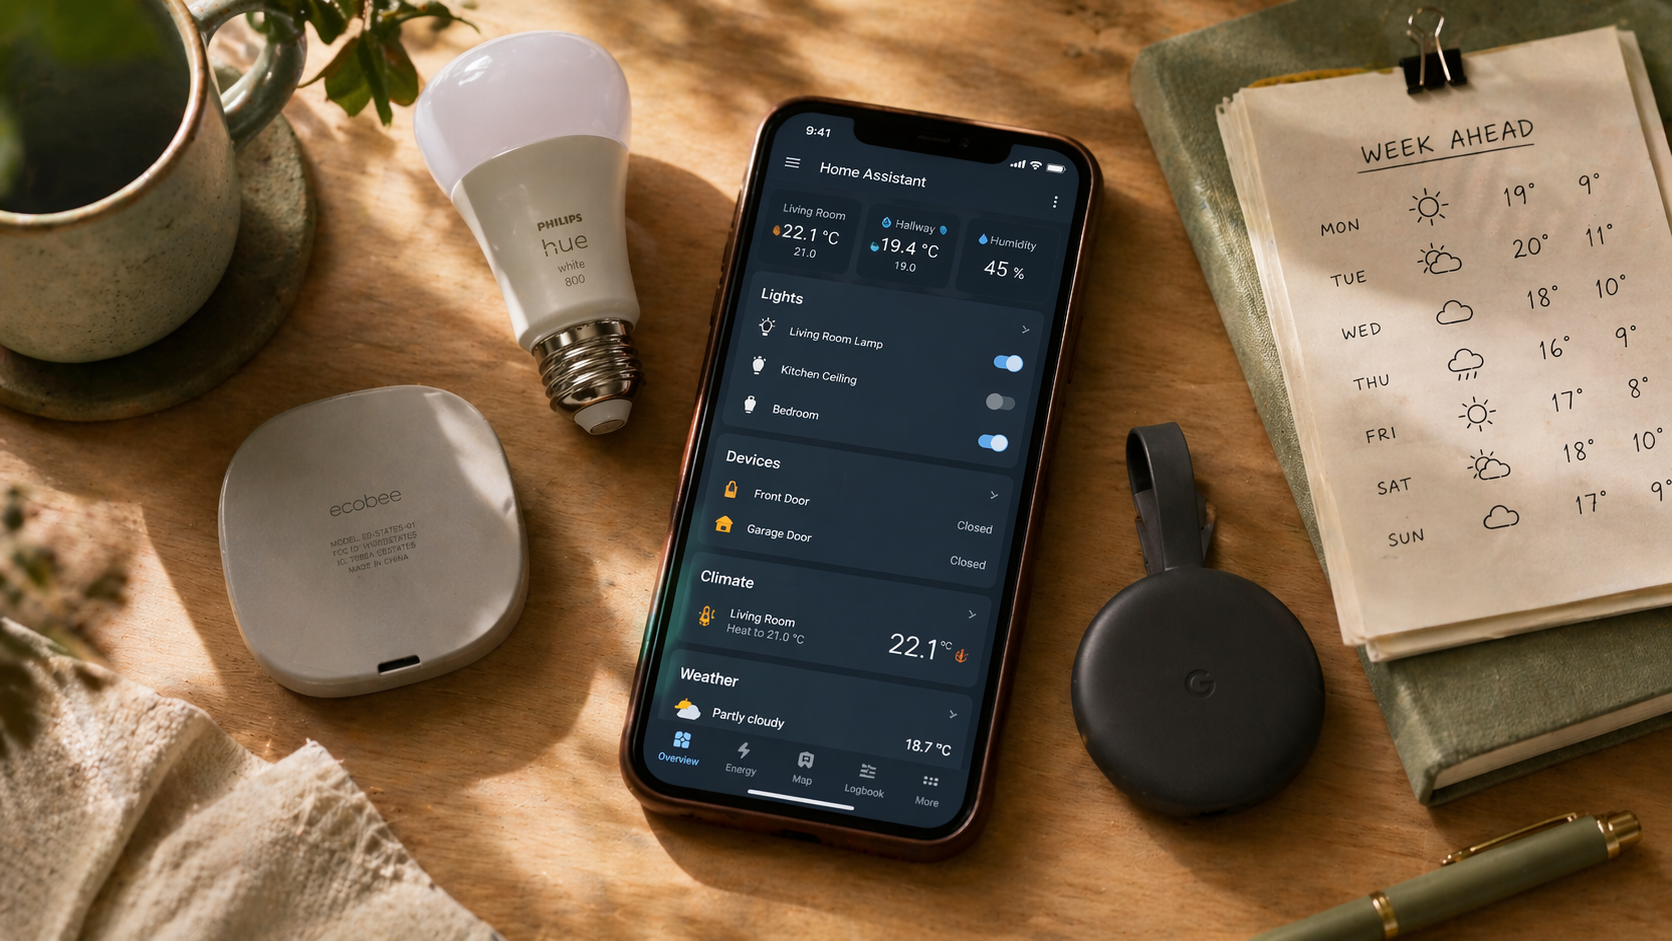
An integration is the thing that teaches Home Assistant how to talk to something else. A brand of light bulb. A thermostat. A weather service. Your phone. Your router. Your solar inverter. Each integration is a small piece of code that knows one specific language, and Home Assistant installs them like apps: pick it from a list, enter your credentials or push a button, and the device shows up on your dashboard.
Two kinds matter for this conversation. Local integrations talk to a device directly on your home network, without involving any outside servers. Cloud integrations talk to a manufacturer’s servers, which then talk to your device. Hue bulbs, for example, can run either way (the local Hue bridge is the better path). Ring cameras can only run cloud.
Local is faster, more private, and still works when your internet goes down. Cloud is sometimes the only option for a given device, and there’s nothing wrong with adding one when it’s the only game in town. Just know which is which. Home Assistant usually tells you in the integration’s description.
Integration 1: The Home Assistant Companion app
The one most beginners skip. Don’t.
The Companion app is the free official Home Assistant app for iOS and Android. Installing it does three useful things at once. It gives you your dashboard in your pocket, it enables push notifications from your automations (the laundry alert, the garage reminder), and it turns your phone into a sensor that feeds back its location, battery level, connected Wi-Fi network, and whether it’s charging.
That last part is what powers reliable presence detection, which is the backbone of half the automations you’ll want to build. “Lights off when nobody’s home” only works if Home Assistant knows nobody’s home. The Companion app is how it knows.
Install it from the App Store or Play Store. Open it. Point it at your Home Assistant URL. Approve the permissions. Done.
Integration 2: Your existing smart bulb brand
If you already own Hue, LIFX, Ikea TRÅDFRI, or anything similar, add that integration next. Home Assistant will pull in all your existing bulbs, rooms, and scenes in about ten seconds.
For Hue specifically: use the local Hue Bridge integration, not the cloud one. It’s in the list twice. The local version is noticeably faster. No monthly account, no login token that expires, no downtime when the Hue servers have a bad day.
After this integration is added, the lights in your house are now Home Assistant’s to command. The automations from the first-automations guide become possible from this point forward.
Integration 3: A weather integration
Free, instant, and more useful than it sounds.
For US users, National Weather Service is the right pick. It’s free, it’s local data, it doesn’t need an API key, and it works without any account setup. For non-US or users who want more detail, Met.no is the second-best free option (run by the Norwegian meteorological service, global coverage, no key required).
Weather data is what turns “turn on the porch light at sunset” into “turn on the porch light at sunset, brighter if it’s raining.” Or an automation that notifies you to bring the deck cushions in before a thunderstorm. You’ll use it more than you think.
Skip the paid weather services for now. The free ones are fine for ninety-nine percent of what beginners need.
Integration 4: Your voice assistant (if you have one)
If you already own an Amazon Echo or a Google Nest Hub, add the corresponding integration (Alexa Smart Home or Google Assistant). This lets your existing voice commands fire Home Assistant actions and your existing Home Assistant devices respond to voice.
“Alexa, good night” can now run the Good Night script you built in the first-automations piece. That’s the payoff. You don’t need to replace your voice assistant to start using Home Assistant. You can bolt them together and let the one you already own keep doing what it’s good at.
A small note: this integration needs a Home Assistant Cloud subscription ($6.50/month) to work cleanly for most people, or a more complex setup through a free route. Weigh the $78/year against the time you’d spend wiring it manually. For most people, it’s worth it. For tinkerers, the free path is there.
Integration 5: A media player
Google Cast (Chromecasts, Nest speakers), Apple TV, Sonos, or whatever you already have in the house.
This is the sleeper integration. Adding it means Home Assistant can play audio through speakers you already own, which means your garage-door-is-open automation can announce itself out loud instead of just vibrating your pocket. It means a script that says “good morning” can play NPR for five minutes, then start the coffee lights slowly brightening.
Pick the integration matching the hardware you have. If you have multiple, add them all. None of them cost anything.
Now turn them into automations.
Our filterable library has 25 real-world automations you can build with the integrations you just added.
Browse automation ideas →The honest downsides
Integrations are the most reliable part of Home Assistant, but they’re not perfect.
Cloud integrations break when the manufacturer pushes a bad update, and there’s nothing you can do about it except wait. Local integrations break when a device firmware update changes the API, which happens occasionally and is usually fixed in the next HA release.
Adding integrations feels free, and mostly is, but each one adds a little clutter to your dashboard and a little noise to your logs. Add them on purpose, not because they’re interesting. You can always add more later. You cannot un-pollute a cluttered dashboard without real effort.
And one more thing. HACS (the Home Assistant Community Store) is the unofficial catalog of community-built integrations. It is worth knowing about, and it unlocks some genuinely useful stuff. It’s also the door into the more technical half of Home Assistant, and we’ll cover it in its own piece. Don’t install it on day one.
Who this is right for
If you’ve installed Home Assistant, you have a few smart devices in the house, and you’re wondering which integrations actually matter first, this list is your shortcut. Five integrations. One afternoon. Most of the value of Home Assistant unlocked.
Who should wait
If you haven’t installed Home Assistant yet, the install guide is the better starting place. If you’ve installed it but haven’t built your first automation yet, try one of the five from the automations piece first. Integrations are more fun when you have a reason to add them.
The goal here isn’t to add everything. It’s to stop staring at 2,000 options and start using the ones that matter.
What to read next
- Your first 5 Home Assistant automations — the five automations to try once your integrations are in place.
- How to install Home Assistant — the step before this one, for anyone still setting up.
- Zigbee vs. Z-Wave vs. Matter vs. Wi-Fi — coming soon. The protocol question that decides which smart devices you should buy from here on out.


